The stuffed peppers recipe I come back to when I want something that looks like effort but genuinely isn’t
- Updated on Apr 25, 2026
Last month, I found myself staring at six bell peppers on my kitchen counter at 4 PM, with dinner guests arriving at 6:30.
My son had just discovered the joy of emptying every kitchen drawer, and I’d spent most of the afternoon following his trail of destruction rather than cooking. But I wasn’t worried. These peppers have saved me more times than I can count, and they were about to do it again.
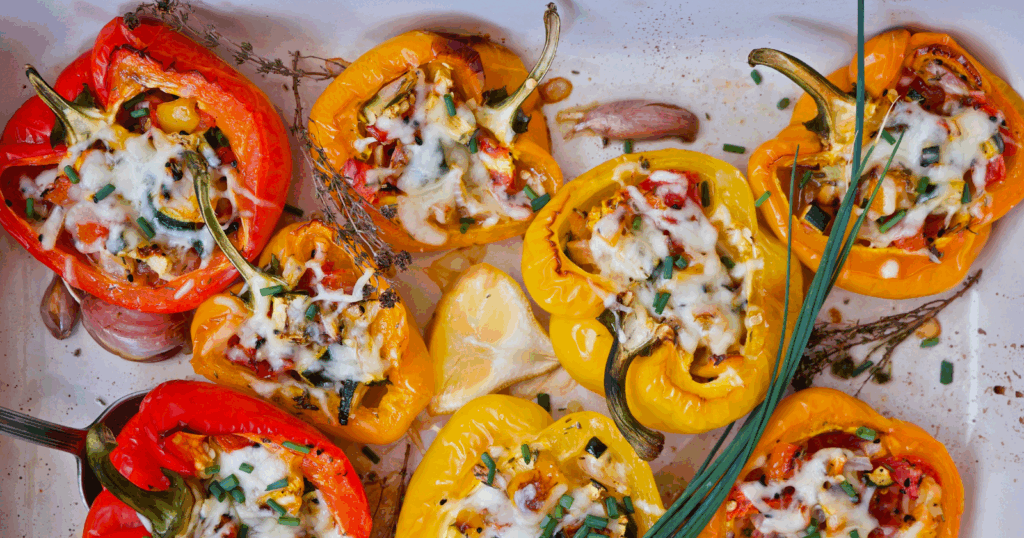
There’s something deeply satisfying about pulling a tray of colourful stuffed peppers from the oven just as your guests walk through the door. The kitchen smells incredible, the peppers stand at attention like little soldiers, and everyone assumes you’ve been slaving away for hours.
The reality? Most of the “cooking” time was me sitting on the sofa, catching up on messages while the oven did the heavy lifting.
Why these peppers became my signature move
I stumbled onto stuffed peppers during my first year of vegetarianism, desperately searching for something that felt substantial enough to serve at dinner parties. What I discovered was a dish that ticks every box: it looks impressive, tastes even better, and requires approximately the same skill level as making a sandwich.
The magic lies in the contradiction. These peppers look like the kind of thing you’d order at a nice restaurant, all neat and architectural on the plate. But the actual process? Chop an onion, mix some stuff in a bowl, stuff it in peppers, stick it in the oven. I’ve made them while moderately tipsy, while juggling work calls, and once memorably while teaching my husband how to fold fitted sheets (he still can’t, but the peppers were perfect).
Getting the peppers ready without overthinking it
Start with six bell peppers, and please, for the love of all that is good, buy different colours. Red, yellow, orange — they’re not just prettier, they’re sweeter and more forgiving than green ones. I learned this after serving an all-green batch that looked like I was punishing my guests for something.
Slice the tops off about half an inch down. Keep these tops because even though we won’t use them as lids, they’re perfect chopped up in tomorrow’s omelette. Scoop out the seeds and the white bits inside, but don’t make yourself crazy trying to get every last seed. A few stragglers won’t hurt anyone.
Stand them up in a baking dish. If they’re doing that annoying wobbling thing, barely trim the tiniest bit off the bottom to help them stand, but try not to cut all the way through. You need them to hold filling, not drain it onto your baking dish like colourful colanders.
The filling that makes people think you’re fancy
Heat olive oil in a large pan — properly hot, not that lukewarm situation where onions just steam sadly. Throw in a diced onion and actually let it cook until soft, about five minutes. Add four cloves of minced garlic because garlic is joy, followed by whatever spices are calling to you. My usual: a tablespoon of smoked paprika for depth, two teaspoons of cumin for warmth, and a teaspoon of dried oregano because it makes everything taste like you meant to do it.
Now comes the filling bulk: a tin of chopped tomatoes, a tin of black beans (drained and rinsed), and two cups of cooked rice. I keep cooked rice in my fridge at all times now, not because I’m organised but because I know future-me will thank present-me when dinner needs to happen fast.
Mix in about half a cup of grated cheese — whatever type you fancy — plus salt and pepper. If you’ve got fresh herbs gasping their last breath in the fridge, chop them and throw them in. Parsley, basil, coriander, even some mint once when I was feeling experimental. They all work.
Assembly and letting the oven earn its keep
Fill each pepper generously. This isn’t the moment for portion control. Mound that filling high and proud. Top each with more cheese because these aren’t health food and we’re not pretending otherwise.
Here’s the bit that makes people think you know secrets: pour about half a cup of water into the bottom of your baking dish. This creates steam, keeps everything moist, and stops the peppers from turning into sad, wrinkled vessels of disappointment.
Cover the whole situation with foil — properly sealed around the edges — and slide it into a 180°C oven for 35 minutes. Then remove the foil and give them another 10 minutes to let the cheese get golden and the tops get slightly crispy. That’s literally it. You’ve just made something that looks like it came from someone who owns matching oven gloves and knows what a mandoline does.
The variations that keep this interesting
The beauty of these peppers is their complete lack of demands. No black beans? Use chickpeas, lentils, or white beans. No rice? Couscous takes five minutes, quinoa works brilliantly, or even those little pasta stars if that’s what’s in your cupboard. Want more vegetables? Dice up courgette, aubergine, or mushrooms and cook them with the onions.
I’ve made Mexican-style ones with corn and jalapeños, Mediterranean ones with olives and sun-dried tomatoes, and even a breakfast version with scrambled eggs that made me feel like someone who has their life together at 8 AM on a Sunday.
The cheese situation is equally flexible. Cheddar, mozzarella, gruyere if you’re feeling fancy, or crumbled feta for something different. I once used up three different cheese ends in one batch and called it “artisanal.” Nobody questioned it.
Making them work for real life
These peppers reheat like a dream, which means I always make extra. They’ll happily sit in your fridge for four days, getting arguably better as the flavours meld. I reheat them covered in the microwave when I’m eating alone, or back in the oven when I want to maintain the illusion that I don’t eat standing over the sink.
They also freeze brilliantly. Just slightly undercook them if you’re planning to freeze — about 30 minutes covered instead of 35. Wrap them individually and freeze for up to three months. Future-you will be deeply grateful when you pull one out on a Wednesday evening when cooking feels impossible.
The truth about easy impressive food
Here’s what years of making these peppers has taught me: most “impressive” cooking is just regular cooking with better presentation. These peppers work because they look intentional. Each person gets their own pepper, which feels special. The colours are cheerful. They stand upright like they mean business.
But strip away the theatre and they’re just rice and beans with some vegetables and cheese — the same ingredients that might otherwise become a very uninspiring bowl of stuff. The pepper is just a fancy serving vessel that happens to be edible.
This recipe has become my answer to so many situations. New vegetarian friends coming over? Stuffed peppers. Need to use up rice and random vegetables? Stuffed peppers. Want to meal prep but can’t face another container of something brown? Stuffed peppers. They’re the cooking equivalent of a good blazer — they always make you look like you tried harder than you did.
The last time I made these, a friend asked for the recipe, convinced there must be some secret technique. I wrote it down for her, and she texted me later: “This can’t be everything. It was too easy.” But that’s exactly the point. The best recipes aren’t the ones that require specialised equipment or ingredients you have to order online. They’re the ones that make Tuesday dinner feel a little special without making you feel like you need a vacation afterwards.
Comments